Overview
SharpaPix is a free, easy-to-use Windows program that uses image deconvolution to sharpen your photographs. Also, you can adjust the colours in various ways.
It doesn’t use AI.

Screen Output
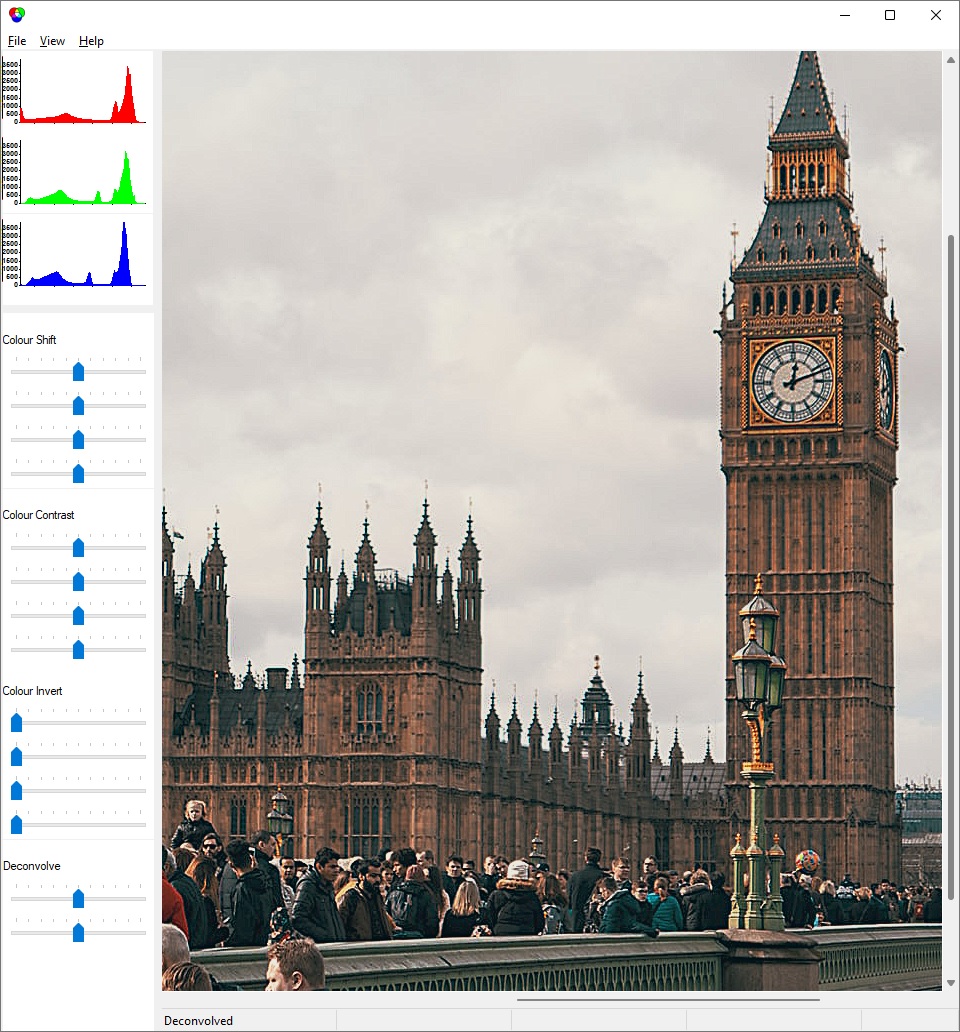
The screen is split into three windows:
Histograms window
The red, green, and blue charts are histograms. The horizontal axes are brightness, and the vertical axes correspond to the number of pixels at each brightness.
Sliders window
The first sets of sliders allow you to manipulate the image’s colours.
The last set of sliders allows you to sharpen the image by deconvolving it.
Images window
This is where you can toggle between an original image and its processed version.
Deconvolution
This subject can be quite intimidating, but it’s very simple to use. You don’t need to understand any of the underlying theory, but if you want to know …
In Theory …
Due to recording and lens focusing limitations, each point that’s recorded isn’t recorded as a single pixel – rather, it’s spread across several adjacent pixels. In effect, each point will result in something like a cone of pixels:

The spreading is called convolving, and the result is a blurred recorded image.
The deconvolution algorithm determines the approximate shape of this cone from an analysis of the given image. From this, it derives the cone’s inverse filter:
The recorded image is then convolved with this filter – i.e., it’s deconvolved.
In Practice …
The first deconvolution slider lets you choose the operator’s radius: short to long.
The second deconvolution slider lets you choose the operator’s effect: weak to strong.
Typically, you would start by moving both sliders to their mid points and then using the resulting deconvolved image as a reference. And then, just tweaking the result by adjusting these two or any of the other sliders. That’s really all there is to it:
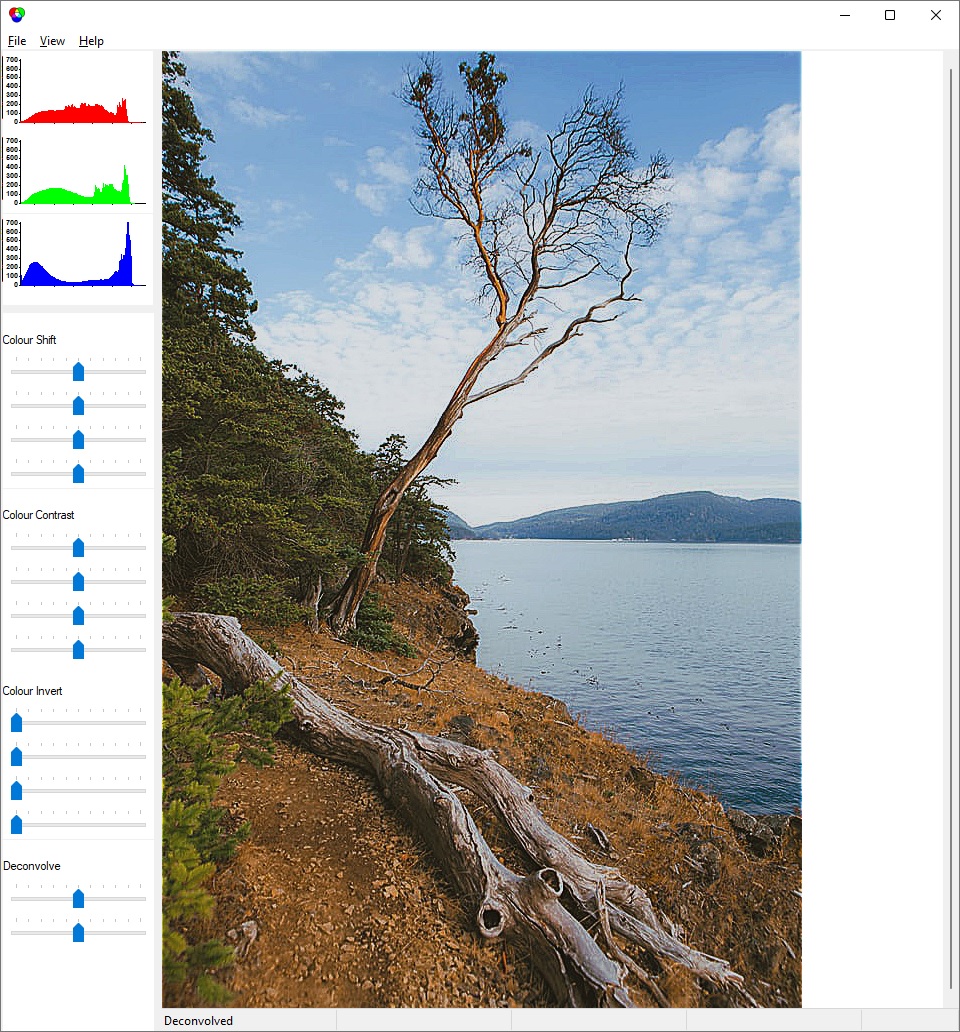

Image Input/Output
Image files (both input and output) can be .bmp, .jpg, .jpeg, .pcx, or .png (i.e. bitmap format).
The deconvolution algorithm works best on images that were recorded on a digital camera, and haven’t already been processed in some way.
Mobile phones automatically enhance their images and as such won’t fare as well.